
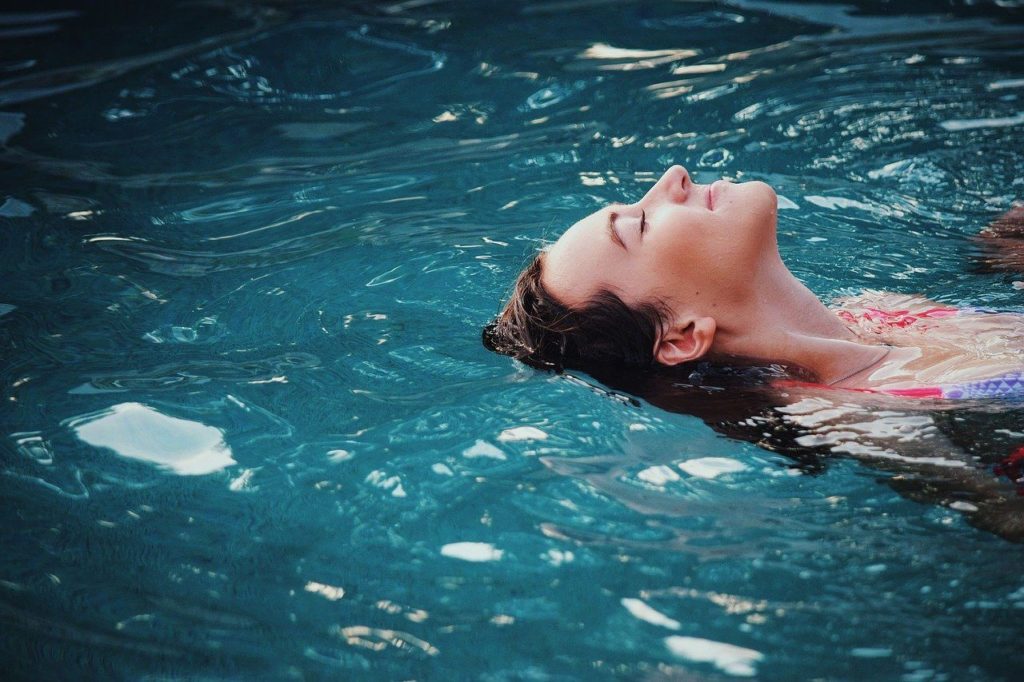
Saltwater pools have significantly increased in popularity in the last five to seven years. The pros of saltwater pools are talked about at great length. Non-salt water pool owners are left wondering what it might be like to try out the salt life.
If you haven’t already figured this out, pool ownership comes with lots of pros and cons. Saltwater pools are no exception. Let’s understand why you may want to convert your pool before we get into the actual process and the work and cost involved. If you are sure that a saltwater pool is for you, feel free to head on down to the section entitled Conversion Process to learn more.

Pros of A Salt Water Pool
Here are the best possible reasons that we can come up with to switch to a saltwater pool
Never Buy Chlorine Again
Wouldn’t it be nice never to purchase that expensive heavy chemical ever again? Salt water pools mostly make their chlorine, so you don’t have to! Not only does this save money, but you can check another thing off your list to get done.
Never Forget to Put Chlorine In
You know that time you went on vacation and didn’t ask the neighbor to put some chlorine in the pool when you were gone? Not a fun treat to come home to a swamp. The good news about a saltwater pool is that you can never forget to put the chlorine in, the chlorinator takes care of it for you.
The chlorine produced in a saltwater pool contains no chloramine. Chloramine is a chemical that traditional chlorine contains, and it causes all of the adverse effects you generally think of when it comes to chlorine.
Chlorine can cause severe irritation of the eyes, skin, and lungs. Not only is it challenging to handle in overly chlorinated pools, sometimes just having to handle the chlorine to put in your pool can be dangerous. We all know a blonde who had her hair turn green after swimming in a chlorine pool. The chlorine that the saltwater pools produce will eliminate (or considerably lessen) these damaging side effects.
Reducing exposure to these common chemicals is a prime reason that people choose to convert their pool.
Soft Water
Even though the pool technically is saltwater, it’s not quite the same as the ocean water. The pool water will not taste salty or feel the same way that ocean water does.
The water in a saltwater pool is quite soft, and you won’t even notice the salt in it.
Cons of a Salt Water Pool
You didn’t think it was going to be all pros for switching to salt water, did you? There are still some problems with this method (although in our opinion, very few).
Salt Cell Replacement
Every few years, you will need to replace your salt cell in your pool. Depending on the model that you have, this can cost between $200-$800. Indeed, this is not an inexpensive part, but you do have to consider the cost savings through the year on chlorine and other chemicals.

Still Need to Check the Levels
Some people think that once you have a salt water pool, you no longer need to do anything because the chlorinator takes care of it all. Part of this is correct, but technically you need to keep a close eye on the pH. Salt water pools tend to have high pH values, which can lead to calcium buildup. Calcium buildup can be challenging to control and remove when pH levels are off.
Check your pH often and add acid to the water to lower the pH when needed. It’s a good habit to check pool chemical levels weekly regardless of what type of pool you have.
Lots of Parts
A salt water system is more complicated than a traditional pool filter system. There are more parts, and therefore, more can go wrong. This is a risk many have been willing to take, especially those that take the time to understand the way the salt water system works. It is not all that complicated after spending some time using it.
Conversion Process
Now that you have decided you want to be a saltwater pool owner, we can start working towards that process. Follow these necessary steps that we have outlined, but be sure to check all manufacturer recommendations on your chlorinator and filter systems as well.
1. Addressing the Current Water
Before you can work on installing your new chlorinator, you must address the current water in your pool.
Many people think that it is imperative to drain the entire pool before converting it to salt water. This is not the case. If you have not been using an antibacterial agent in your pool, then you can turn the water that is currently in the pool. If you have been using an antibacterial agent, you are likely going to want to drain the water as this agent will work against the new chlorinator, and you will have trouble getting the chlorine levels to what they need to be.
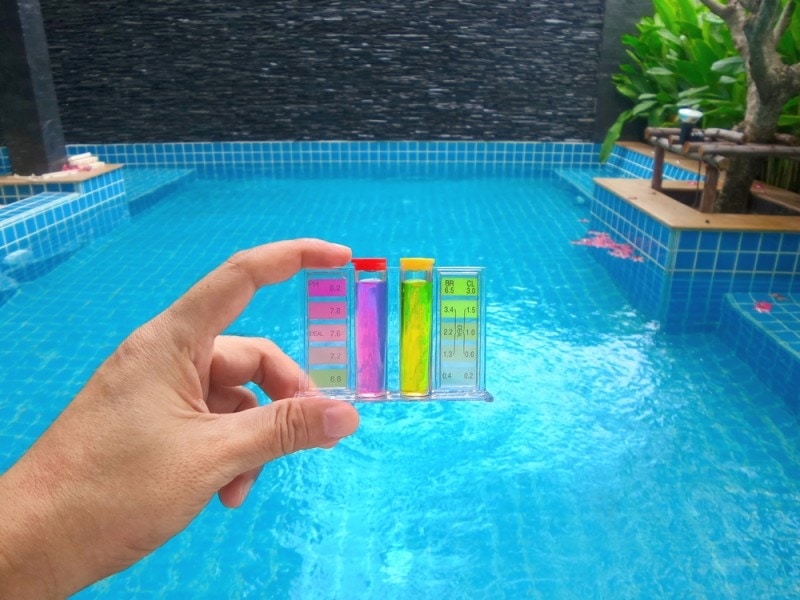
You are going to want to check all levels and make sure they are in balance. The things to check for are chlorine, alkalinity, pH, stabilizer, calcium hardness, and then metals.
Slowly work on adjusting all of these until they are at the perfect levels. This process could take several days. In general, the conversion process is likely not all going to happen in an afternoon. Be sure to keep that in mind and prepare for that as well.
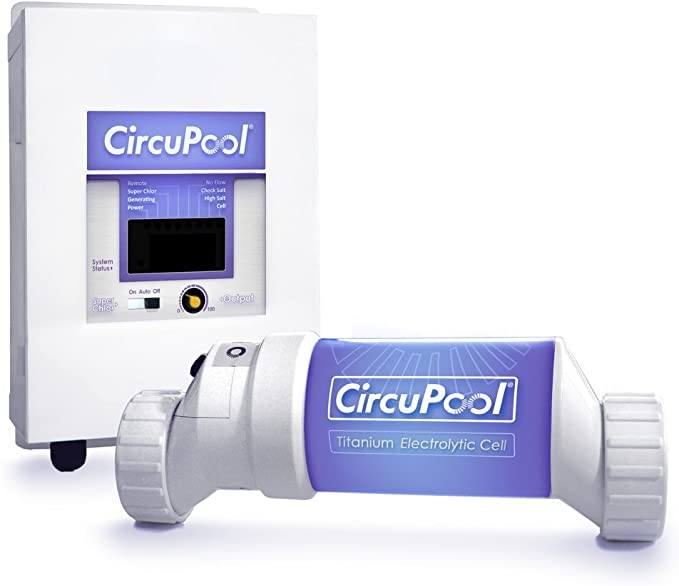
2. Choosing a Chlorinator
Choosing a chlorinator can be a bit of a lengthy process. There are many options to choose from across several different price ranges. We recommend a few key things when deciding which chlorinator works best for your pool.
Chlorinators are built for certain size pools. Always know your pool size (in gallons) when it comes to choosing a chlorinator, chemicals, cleaners, etc. You do not want to end up with a chlorinator that does not work correctly for the size of your pool.
You Get What You Pay For
When it comes to the cost of the chlorinators, it is one of those you get what you pay for situations. Some chlorinators can cost several thousand dollars, and this might not make sense for you and the fact that you are doing this entire thing to save money! There are some cheap chlorinators as well, but we highly recommend going with something in the middle. Try to get a chlorinator that has a great name, warranty, customer service behind but also not putting yourself into debt. The cheap chlorinators might work very well for a short time but cause issues later on.
Get Familiar with the Features
The more expensive chlorinators are going to have lots of features. The basic models will likely allow you to adjust the level of chlorine in your pool. Decide what makes sense for you and your life. Do you need all the stats and figures? Do you want automatic cell cleaning? Does freeze protection matter for where you live? Indeed, if you live in South Florida and you buy a salt water chlorinator, the freeze protection feature will likely not be money well spent.
Don’t drive yourself crazy with this process. Look for something you can afford, be realistic about the features that you need, and do your research on the warranty and manufacturer’s support on any model that you may consider.

3. Installing a Chlorinator
This is the part that we recommend hiring a professional. There will be quite a bit of both plumbing and electrical work involved in installing your chlorinator. If you feel confident with your handyman skills, then, by all means, give it a try. However, it may be money well spent to have a professional take over this process.
You will have to read the specific directions for the chlorinator that you bought, but most will follow this general process.
- Balance and test the water in the pool
- Add the correct amount of salt to your pool to begin the conversion process (there should be a guide in the instructions as to how much salt you will need)
- Locate a spot to install the control box for the salt water system. Again, the manufacturers directives will have specific instructions about how and where to install this box and make sure to follow them carefully.
- Here is where some of the electrical work comes in. You will have to attach the power from the control box to the pool timer. If this is your first time doing any type of electrical work, you are better off calling in a professional. This is not quite like putting a cover plate on an outlet in your house.
- Install the chlorinator cell. This is where you have to put on your plumbing hat. Make sure the chlorinator cell comes after the filter and is the last thing the water passes through before heading into your pool
- Next, you will need to connect the chlorinator cell to the control box and turn everything on to check for leaks. When everything is on, you can start using the chlorinator and enjoying your new salt water pool.
4. Early Stages After Conversion
When your pool is first converted to salt water, it’s essential to make sure that all of the chemicals are correctly balanced and that the salt levels are where they need to be. For the first 24 hours, it can be a good idea to run your chlorinator at 50%. This will give you a good starting point to see if you need to turn things up or down.
As always, try to keep your free chlorine at a level between 1 and 3 parts per million (ppm). If you find that your chlorinator is doing this, then you likely have it set to the right conditions. Most chlorinators will come with a feature that will allow you to shock the pool should those unforeseen situations come up (like that kid’s birthday party). It’s usually just a quick setting.
As we mentioned earlier, your pH is going to be something that you need to keep a close eye on when you have a salt water pool. In those first few days, make sure that pH is between 7.2 and 7.8.
Life After Conversion
Now that your salt water chlorinator is in and you are enjoying your salt water pool, it’s essential to know how to care for this new system correctly.
The most important factors to remember are the chemical levels to keep an eye on and making sure that you take care of that brand-new expensive chlorinator.
Keep your salt level between 3,000 and 3,500 ppm. Make sure only to use pool grade salt in your pool. May sound comical, but trust us, some people have tried using other types of salt in their pool, and it just doesn’t work.

Keep an eye on the Cyanuric Acid (Stabilizer) and make sure it stays around 50-775 ppm. Now, if you went for one of those fancy chlorinators, all of this information might be sent to you in a weekly report; if not, be sure you are checking on it.
Calcium scale is one of the biggest problems that salt water pool owners have to deal with. Keep your calcium hardness between 150 and 400 ppm to see the least amount of calcium buildup on the surfaces of your pool. If you do get calcium buildup there are ways simple ways to remove it and get your pool looking great again.
Your T Cell will be subject to calcium build up and will need to be washed in an acid solution at least once every season. This part of your salt water system will need to be replaced every 3-7 years, so it is imperative to keep up with maintenance to extend the longevity of the product.
Conclusion
Now that you have the basics of what it’s going to take to convert your pool to a salt water pool, you can make a more informed decision about if this works for you or not. The costs are minor when you look at the time and money saved through the years. If the adverse chlorine effects are the reason you are looking to change the pool in the first place, it is hard to put a monetary value on that.
Featured Image Credit: Pexels, Pixabay
Contents