House Grail is reader-supported. When you buy via links on our site, we may earn an affiliate commission at no cost to you. Learn more.
How to Winterize an In-Ground Pool (3 Key Steps)
Pete Ortiz
Last updated:
The Book of Ecclesiastes tells us, “To everything there is a season.” That includes shutting down your swimming pool and preparing it to survive the cold winter months so it’ll be in good shape for the following spring. If you shut it down and winterize it properly, starting it up again in the spring will be much easier than if you didn’t. The procedure is simple, i.e., not complicated, but it does require some time and effort on your part.
The 3 Steps to Winterize an In-Ground pool
Cleaning and Chemicals
The first thing you want to do is thoroughly clean the pool. Skim all the leaves and debris, then run the vacuum over the entire pool, all the way up to the water line. Backwash the filter and add more chemicals. Repeat the whole process the next day. Then do it again on Day Three. This triple redundancy ensures that your pool is sparkling clean before you shut it down.
You also want to make sure all the chemical levels are as close to ideal as possible. During the three days of cleaning, add chemicals as needed, and use testing stripes to aim for the following levels:
pH – 7.2-7.6
Alkalinity – 80-100 parts per million
Calcium Hardness – 175-200 parts per million
Chlorine – 1-3 parts per million
Don’t over-do the chlorine. Too many pool owners have discovered to their dismay that chlorine eats rubber the way salt eats metal. Stay within the guidelines or the chlorine will eat holes in your pool cover, and probably your pool liner as well.
Winterizing Kit
Purchase a winterizing kit. You can search online for “winterizing pool kit” and find more options than you can shake a stick at. Most of them have the same chemicals and price tags attached so it mostly comes down to a matter of brand name preferences.
Follow the instructions on the kit. Don’t skip anything, try to double-up, or adjust the quantity of the chemicals. Winterizing swimming pools has become something of a science and the instructions that come with the kit are the product of decades of research and trial-and-error. Don’t try to second-guess them.
Remove all the deck equipment including rails, ladders, etc., then clean the filter, skimmer, and pump basket. Remove any unused chlorine tabs from the skimmer or chlorinator basket. By this time, if you’ve followed the instructions you’ve already backwashed the filter three times so it should be fine.
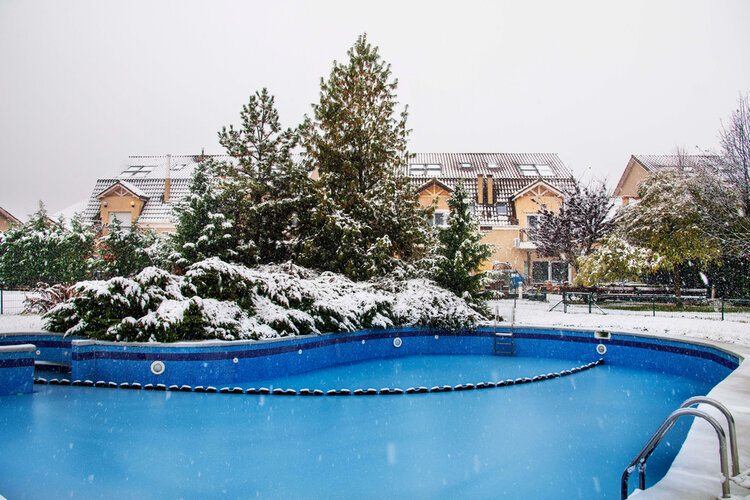
Winter Water Level
Lower the water in the pool below the leave of the skimmer and jet returns (where the water shoots into the pool). The easiest way to lower the water level is to backwash the filter again, only this time leave it going until the water level drops below the skimmer. Use a garden hose to siphon out more if need be. The final water level should be at least 2 inches below the level of the lowest skimmer or jet.
Image By: andrijosef, Shutterstock
Never completely drain the pool!
Use a shop vac to blow the water out of all the lines going back and forth from the pump to the pool. Then cap off your return lines with expandable rubber plugs. Reusing once-frozen rubber is usually a bad idea, so when you remove them in the spring, simply throw them away. Then add anti-freeze (any brand) by pouring it through the skimmer. The ideal calculation is 1-gallon for every ten feet of hose between the pump and the pool.
Final Steps
Remove all the drain plugs from the pool equipment, including the pump and filter tank. Storing all the plugs in the pump basket is a good way to keep everything together.
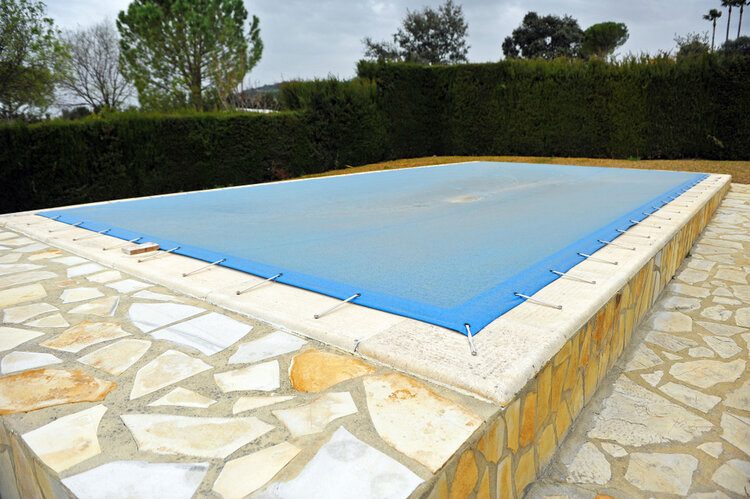
Finally, place the pool cover over the pool with the black side facing down. Algae is a plant, and plants don’t grow without sunlight so you want to do everything you can to stop any sunlight from reaching the water. Anchor the sides of the cover with water tubes that are 3/4 full of water. Never fill them completely or they’ll burst if they freeze. As an example, a small 12’x24′ pool will generally require nine or ten water tubes to hold the cover in place. For larger pools, add more water tubes.
Image Credit: Irina Borsuchenko, Shutterstock
At this point, you’re done. Your pool is ready for the winter.
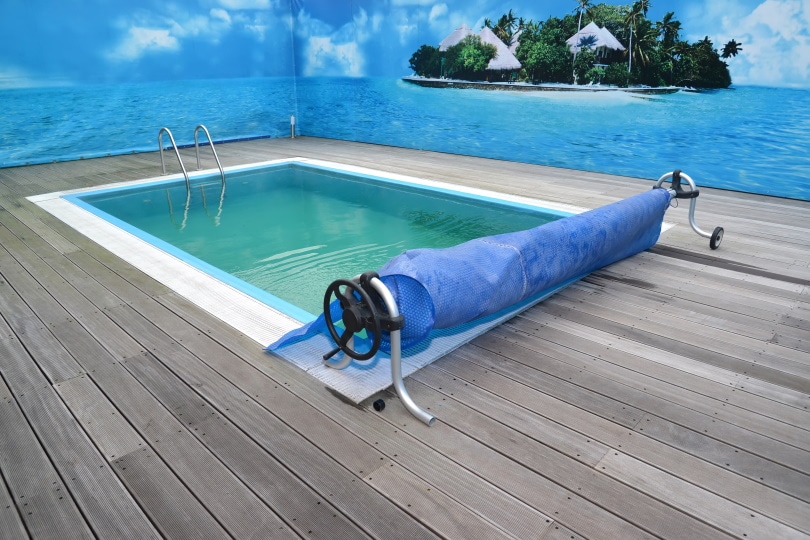
Optionally, you can add a pool cover pump. These are small, lightweight pumps designed to sit on top of the pool cover in the middle of it. As water and rain accumulate over the winter months, they can pump it off the cover. Typically they plug into a standard A/C outlet and are intended for outdoor, winter use.
Featured Image Credit: joserpizarro, Shutterstock
Contents
Writer
Pete Ortiz
Pete has been working in the trades since high school, where he first developed a passion for woodworking. Over the years, he has developed a keen interest in a wide variety of DIY projects around the home. Fascinated by all sort of tools, Pete loves reading and writing about all the latest gadgets and accessories that hit the market. His other interests include astronomy, hiking, and fishing.
As the founder of House Grail, Pete's primary goal is to help consumers make educated decisions about DIY projects at home, in the garage, and in the garden.